


How can we help?
Support & advice
How can we help?
Support & advice
Search by topic, question, more...Looking for technical help? Head over to our Help centre (FAQs)!
Support
Find support by topic

Continence support
See all Continence support
Longer reads
A-Z articles


Support
Articles

What are the different types of catheters?
If you’re new to the world of catheters, you may not yet be aware of the different varieties whic...

A-Z Intermittent Self-Catheterisation (ISC)
Intermittent self-catheterisation, or ISC for short, is used if you can’t empty your bladder by y...

Urinary continence and urinary incontinence: What's the difference?
Urinary continence generally means that you can control movement of your bladder. This isn’t some...

A-Z Ileostomy
An ileostomy means that your small intestine is brought out through an opening in your abdomen to...

Common catheter problems
Catheter-use, unfortunately, also comes with its very own problems and complications that you mig...
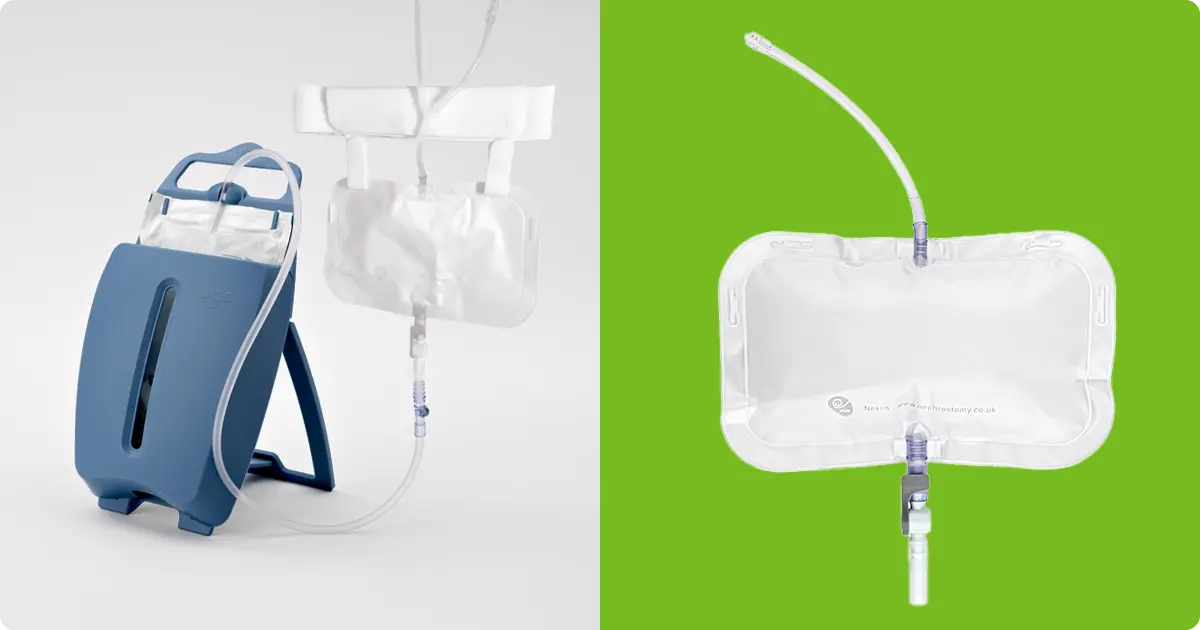
A-Z Nephrostomy
A nephrostomy is a thin plastic tube that allows urine to drain from your kidney. It is inserted ...

Finding the right ISC size for you
Everyone has different bodies and unique needs, so finding the right catheter for you is very imp...

What is causing my bladder pain?
Usually, you won’t be able to feel your bladder at all but, in some cases, you might feel pain or...

What does the colour of my urine mean?
It’s something we all do every day, and something you probably don’t pay too much attention to. H...

A-Z Urethral Catheter
A lot of people live their lives with a urethral catheter to effectively drain urine from their b...

Support
Articles by author


Contact us
Need more help?
Resources